The Porcelain Relief Method
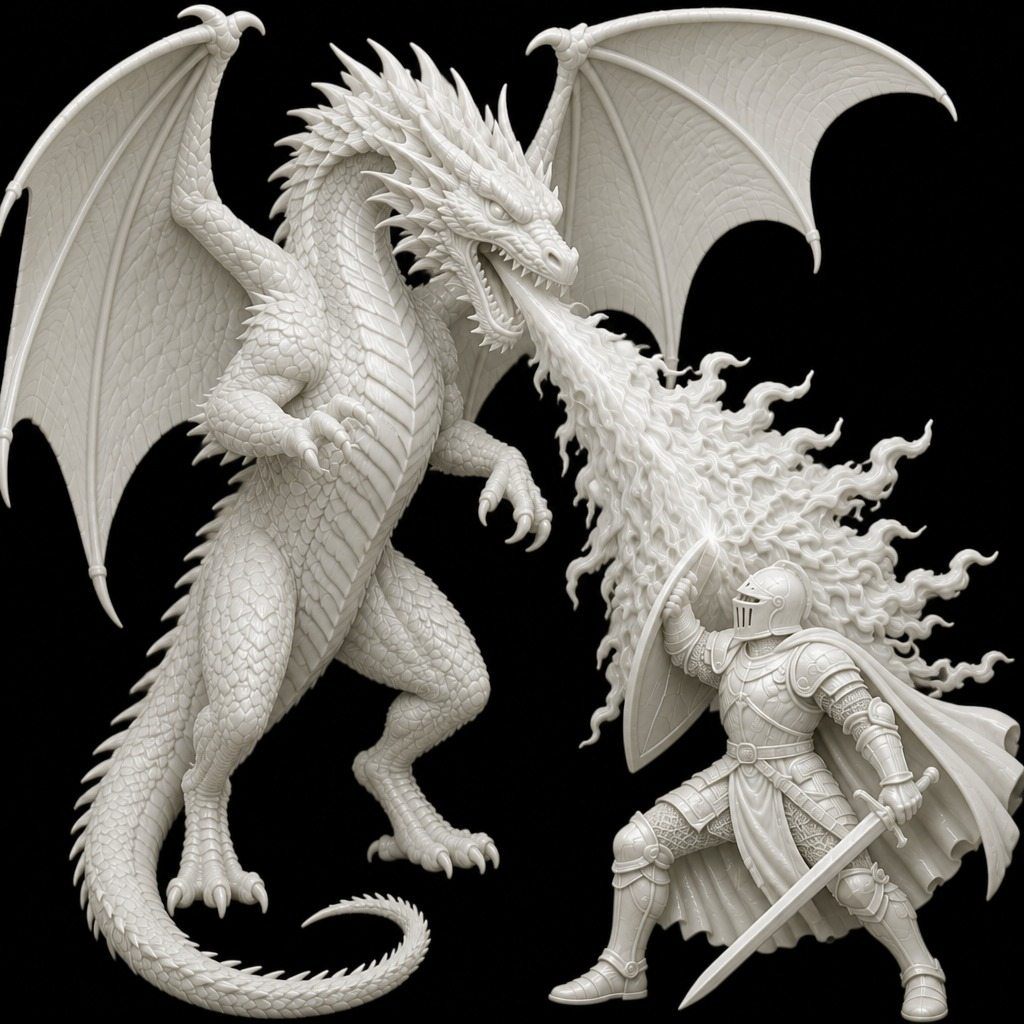
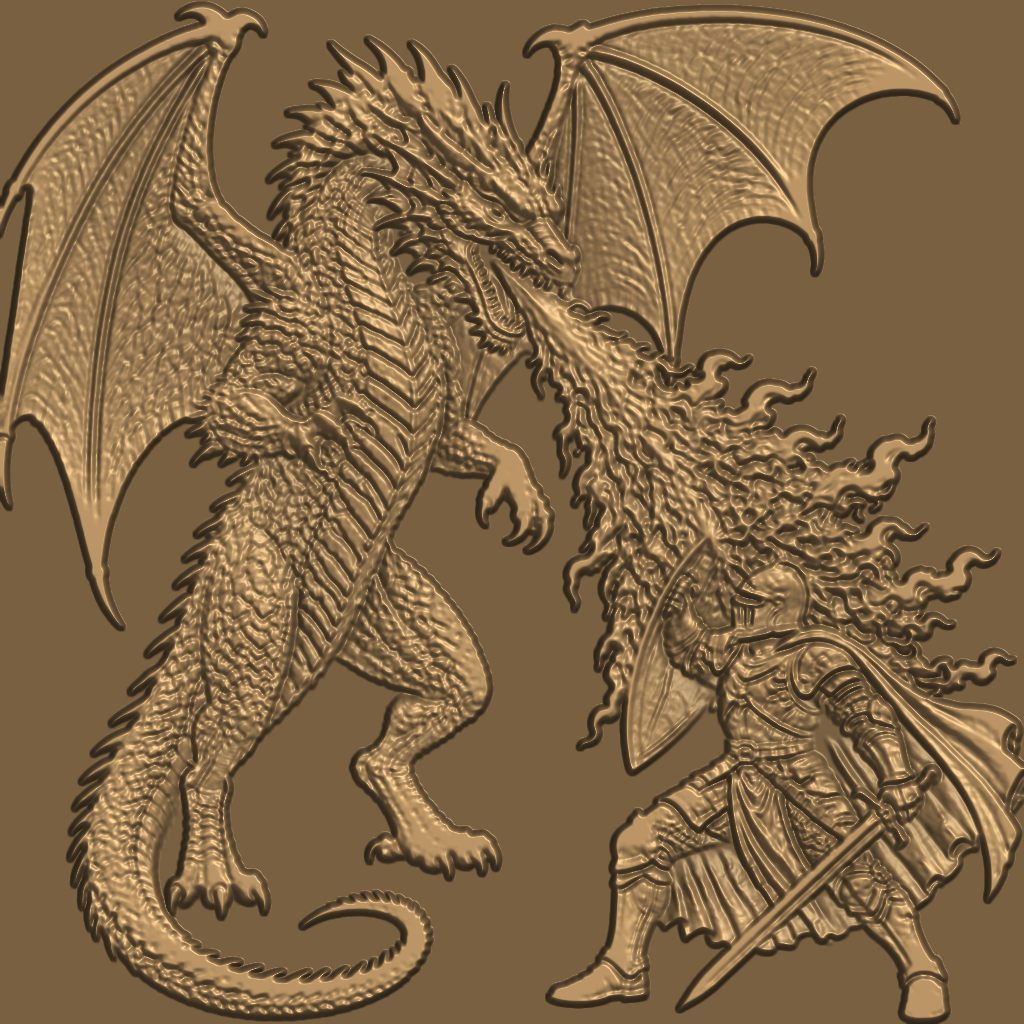
The single biggest upgrade you can make to your CNC relief carvings isn't a slider or a bit — it's the input image. Relief engines read brightness and shading as shape. An ordinary photo is full of things that are not shape: sunlight, cast shadows, color contrast, busy backgrounds. A porcelain-style image on a black background removes all of that, leaving pure sculpted form — which is exactly what a carving is.
Why it works
- White-on-black = clean height. Bright subject on a dark backdrop maps directly to raised-subject-on-flat-base — no fighting the background.
- Porcelain shading is form-only. A porcelain render has soft, even studio light: every brightness change on it IS a surface change, so the relief engine reads it almost perfectly.
- No color traps. Dark fur, tattoos and bold patterns normally carve as deep holes. Porcelain conversion erases coloring while keeping the anatomy.
The one-click way: 🏺 Porcelain Your Image
Inside the Relief Maker, click 🏺 Porcelain. The studio de-lights your photo, applies a glaze tone curve with an adjustable Shadow slider, finds the subject with the on-device AI depth model, and drops the background to true black — then re-generates the relief automatically. For animals with dark markings (tuxedo cats, German Shepherds), switch on 🐾 Blend dark markings so black fur blends into the form instead of sinking.
The AI-art way (how our examples were made)
Every ✨ Try It example in the studio was made with an image generator in two steps:
- Generate or pick the artwork you want to carve.
- Ask the model for it as: "a white porcelain sculpture of [subject], smooth glazed surface, studio lighting, on a plain black background." For multi-object scenes, name each object you want to keep.
Run that porcelain image through the Relief Maker untouched — it needs no processing at all.
🗺 Even better than porcelain: a true 16-bit depth map (grayscale height data) imports at full precision and is detected automatically — the studio maps it directly with zero reinterpretation. If your art source can output a depth map, use it.
Next: Getting Started · Toolpaths & G-Code